Hiking Acatenango On Your Own
Are you considering hiking Acatenango on your own? I’m here to help you get to the trailhead, choose your route up the volcano, and have the best possible time.
Whether you want to skip the cost of a tour or simply want more freedom to decide your pace and itinerary, summiting on your own is entirely doable.
I’ve climbed Acatenango on five occasions, and only went with a tour company on the last one. I can see how it could be annoying to stop for a break every 45 minutes if you’re in great condition and would rather keep a steady continuous pace.
Going without a tour gives you the freedom to choose your route, or to hike up and down on different trails for maximum variety.
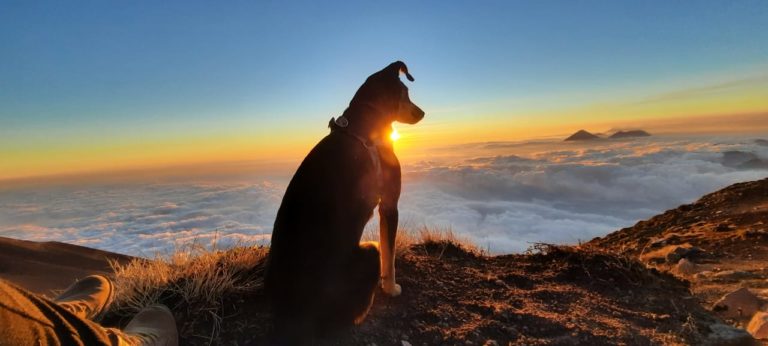
Tip: Check out my posts on Acatenago hike difficulty level and volcano hiking with a dog.
Let’s dive into more details of hiking Acatenango on your own.
How to get to Acatenango Volcano on your own
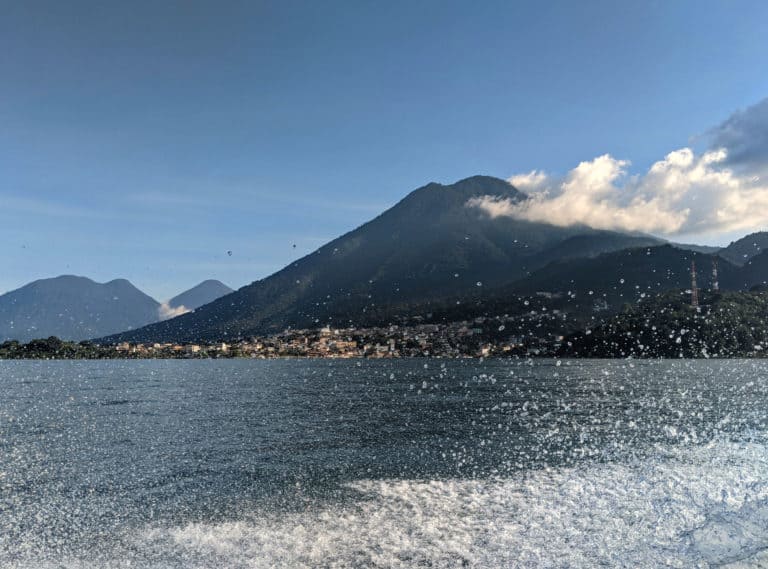
The first step in hiking Acatenango on your own is getting to the trailhead in La Soledad. You can go in your own or a rented vehicle, take a taxi (not mentioned here), or go on public transportation.
Driving Directions to Acatenango Volcano
From Guatemala city, head west on CA-1 Occidente towards Chimaltenango. In El Tejar, turn left onto CA-1 Occidente-Libramiento de Chimaltenango. After 5.3 kilometers, take the off-ramp, then take a sharp right on Carretera a Parramos. Drive straight through Parramos, then turn right at the T on Ruta a Yepocapa.
Continue for 17.8 kilometers to Aldea La Soledad. Partway through town, you’ll see another road branching to the right. There are multiple parking lots available, as well as a store where you can buy or rent additional gear.
Public Transportation from Antigua to Acatenango Volcano
Go to the bus terminal (located near the Antigua market) or to the crossroads at Acatenango and find a bus going to Parramos.
In Parramos, ask around for a bus or microbus heading to Yepocapa. Get off at La Soledad.
Note: In January 2020, this trip would have cost between Q10 and Q13, but prices went up in mid-2020, and most public transportation costs twice as much as they did before, if not more.
Public Transportation from Guatemala City or the Western Highlands
If you are heading from the city, take any bus going to Chimaltenango, Panajachel, Huehuetenango, or Quiché. Get off the bus in Chimaltenango.
If you are heading into the city from Xela, Panajachel, Sololá, Huehuetenango, or Quiché take any bus going to Guatemala City or Antigua. Get off the bus in Chimaltenango.
Once you’re in Chimaltenango, ask around until you find a bus or microbus going to Parramos.
In Parramos, ask around for a bus or microbus heading to Yepocapa. Get off at La Soledad.
Routes for Hiking Acatenango Volcano On Your Own
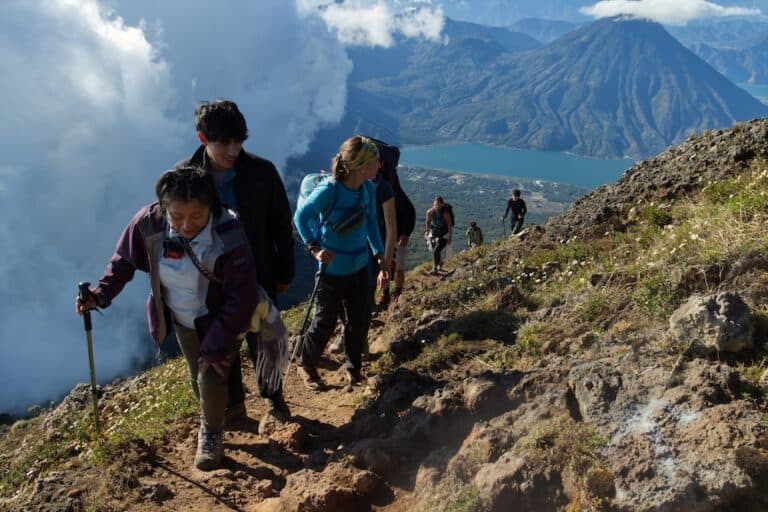
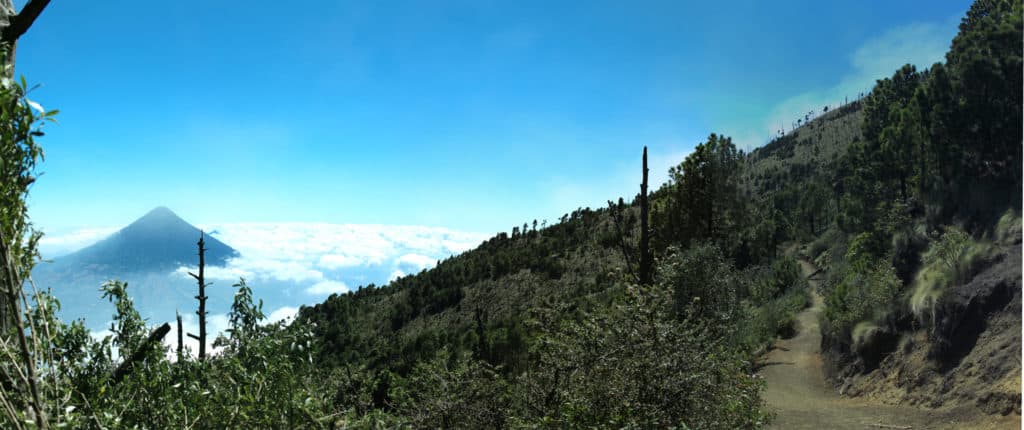
The great thing about Acatenango is that there are multiple trails, each one offering unique vistas.
I’ve taken a different route (or variation) each of the five times I’ve gone up Acatenango and enjoyed each of them immensely. If you’ve gone before, choosing a different trail is a great way to keep the experience and the views fresh.
You can always take one trail up and a different one coming back.
I’ll talk about the different trails below so if you have a strong preference you can talk to your guide about it ahead of time.
La Soledad to Fee Station
There are two trail options you can take to start your hike from the town of La Soledad, Chimaltenango.
The first starts directly across from the main parking lot in La Soledad. It begins with a steep ascent on a concrete road and then leads up through maize and vegetable fields on a soft dirt trail. Eventually, it cuts left and levels out.
To reach the other trail, you’ll need to take a left from the parking lot and walk up the main road until you see the trailhead on your right. This trail is loose, soft, and straight.
Both trails converge at a waypoint where there is a restaurant, café, and bathroom-for-rent.
This path continues up through more maize and vegetable fields until you reach the cloud forest and the official entrance and fee station.
This is where you’ll pay and fill out a registration form for CONAP, Guatemala’s National Council for Protected Areas. You can also make use of the latrines (for free) or take a rest on the benches.
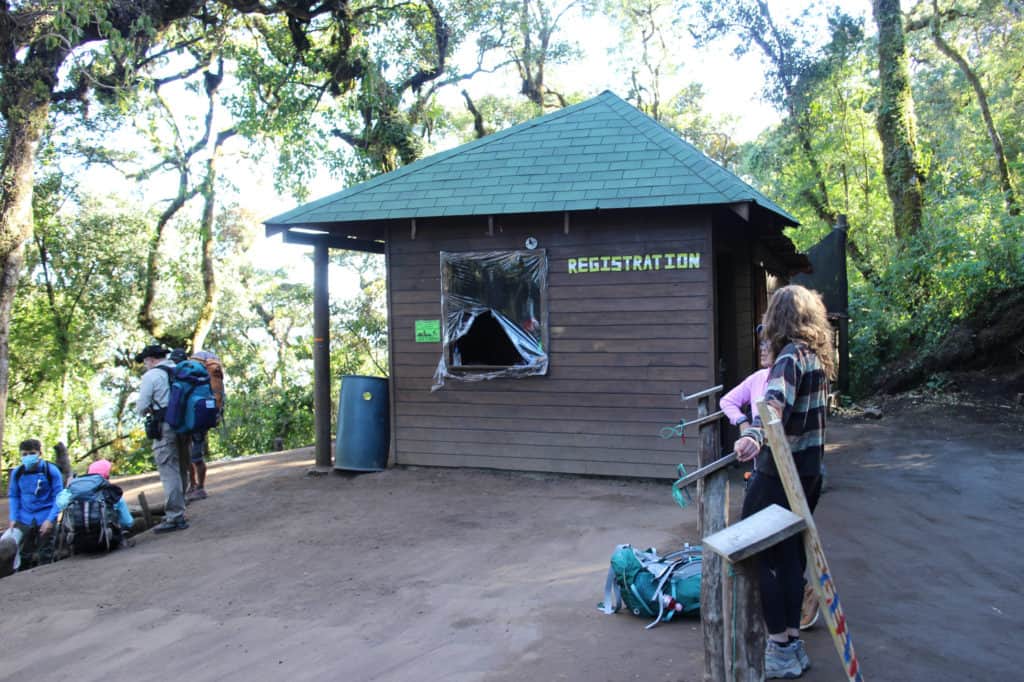
During my 2021 hike up Acatenango, it took my group at least 1 hour to reach the fee station. From the fee station, you have two options: Ruta de Raizales or El Conejo
Ruta de Raizales
This route skirts Acatenango’s east and southern flanks. It is considered the easiest and fastest route.
It has some steep sections, but the trail is wide and fairly smooth. In fact, on one section, you’ll be walking up the 4×4 access road until you reach a trash barrel that serves as a landmark known as El Tonel. (You can also reach El Tonel by heading to El Conejo, see below).
From El Tonel, the trail continues with only a few moderate inclines until you reach the Alotenango camping area (also known as the Sunrise Side). As of February 2021, there’s an additional fee for camping in this area because it is controlled by a different municipality (Alotenango instead of Acatenango).
If you are doing an overnight hike with a tour company this is the most common route, and there’s a very good reason for that. Not only are you out of the wind and fierce cold on this protected flank of the volcano, but you also have prime views of Fuego Volcano (and its frequent eruptions).
There are also great views of the sunrise from the campsites here.
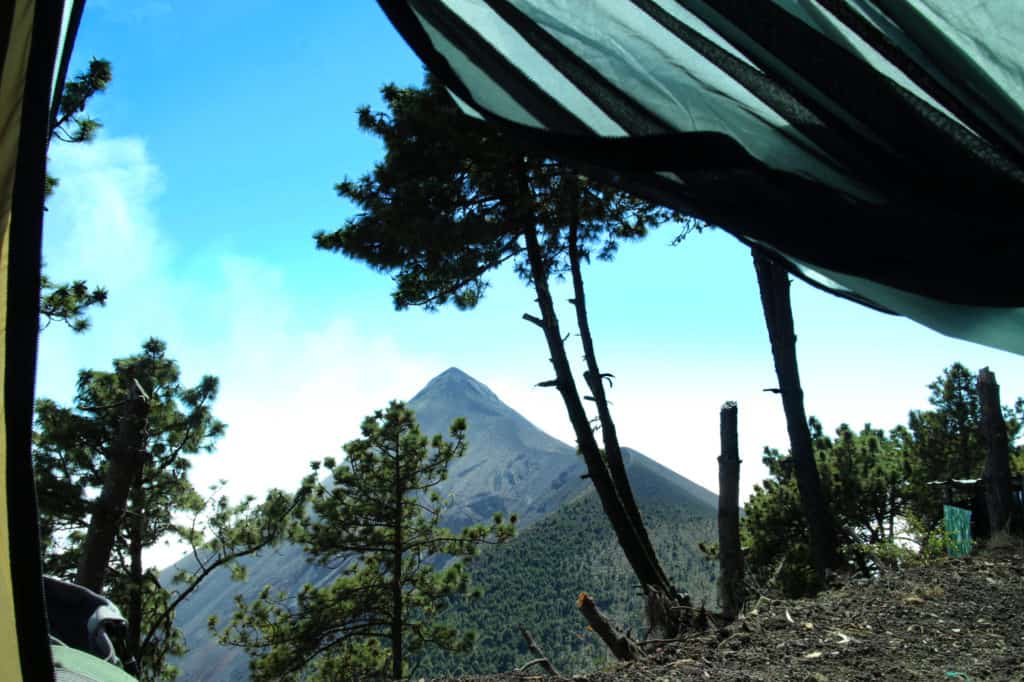
Each tourist agency has a “platform” of cleared and leveled land where they take their tour groups. If you aren’t going with a tour group, you may be able to camp on an unoccupied platform.
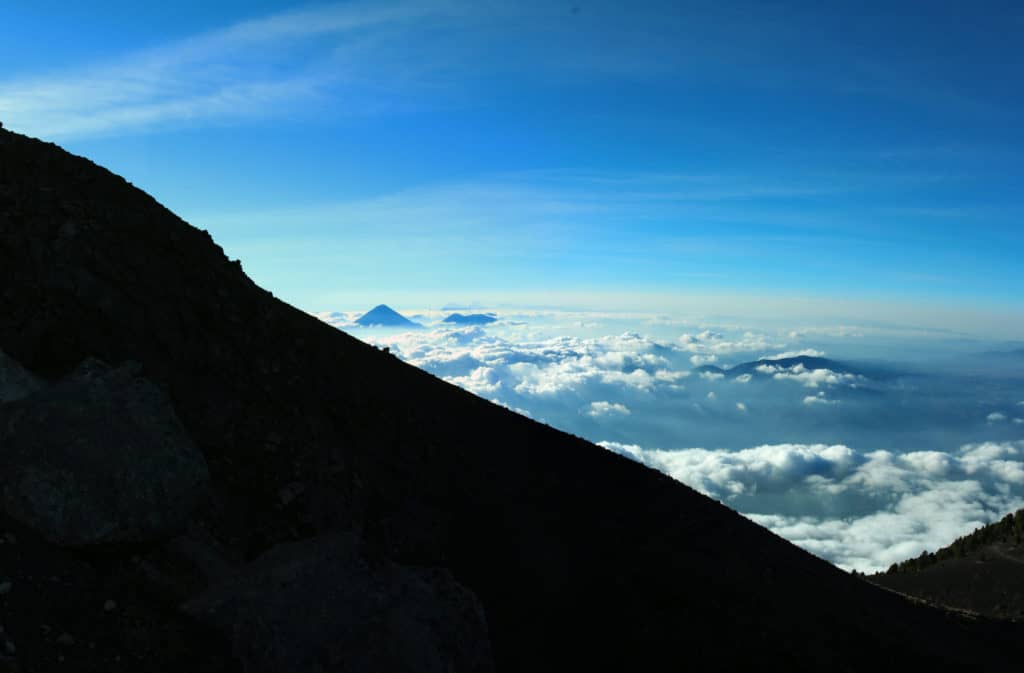
I enjoyed the views of Agua and Pacaya volcano on this trail. And if you’re camping, I highly recommend this site. Watching Fuego erupt from the warmth of a campfire was an incredible experience. The extra fee will be well worth it.
El Conejo
If you choose not to go on the Ruta de Raizales, you will ascend to a waystop called “El Conejo”.
There is a small store here where you can stock up on hydrating drinks and buy hot chocolate, coffee, and tortillas with cheese, as well as covered areas perfect for eating your lunch.
El Tonel, Ruta Turística or Las Tres Marías
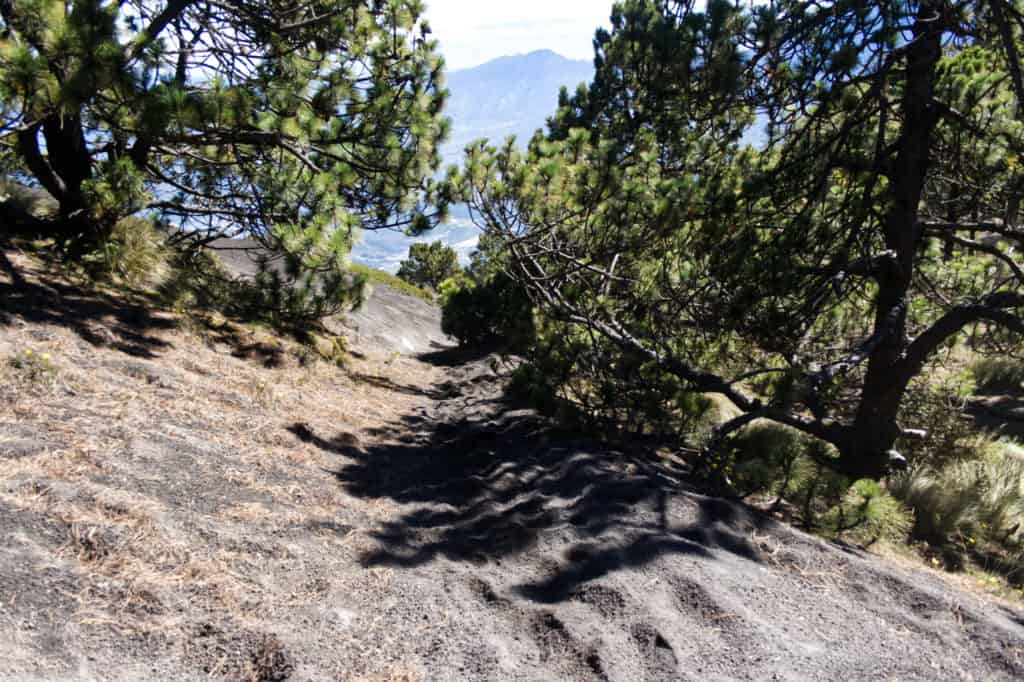
After the waystation at El Conejo, the trail diverges again.
You can head towards El Tonel and the Alotenango camping area (a longer and steeper route than Ruta de Raizales).
Or, you can also reach the eastern side of the saddle between Acatenango’s peaks by taking an alternate trail from El Tonel. I remember this trail as having a long section of volcanic sand where you have to fight for every step. That was hard going while pushing a mountain bike but was lots of fun coming down.
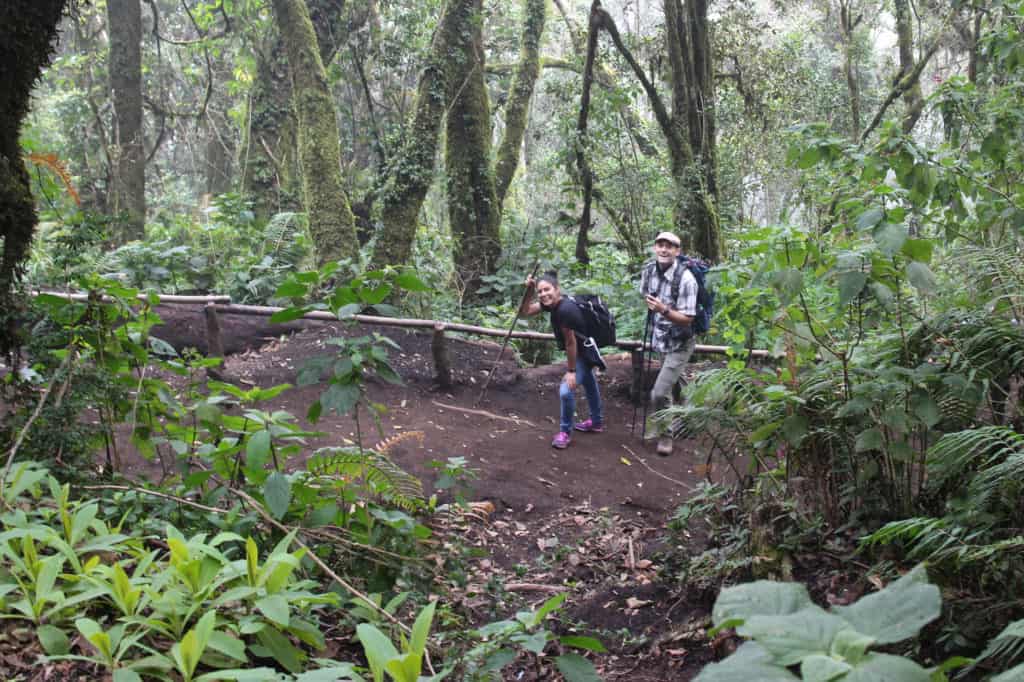
Another option is to hike along the “Ruta Turística” or “tourist route” on Acatenango’s western flank.
This trail has twelve massive zigzags and emerges on the western side of the saddle between Acatenango’s two peaks. It is wide and has several waystations, latrines, and camping platforms. This is a great route for beginners.

Alternatively, you can take the steeper and more challenging route up to Yepocapa, Acatenango’s shorter peak, before descending to the saddle ridge and then climbing up to the summit of Pico Mayor.
This route is known as “Las Tres Marías.”
La Maldita and La Bendita
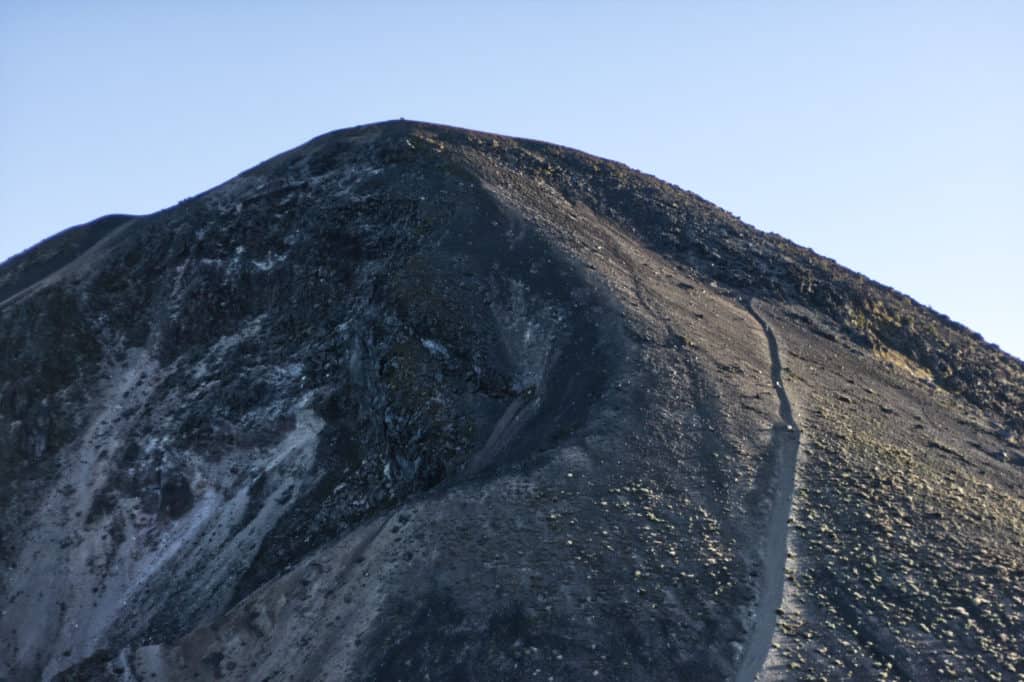
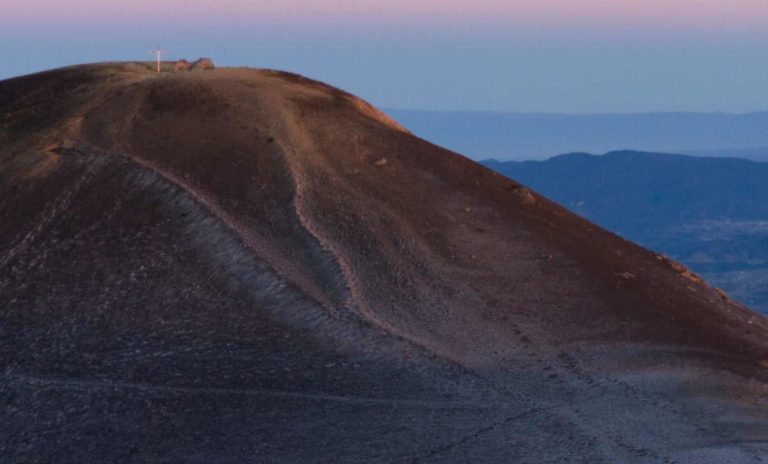
Once you reach the saddle ridge between Acatenango’s two peaks, you’ll make the final ascent to the Pico Mayor. You can choose to go up the western side (La Maldita – The Damned) or the eastern side (La Bendita – The Blessed).
Note: the trail to the summit may be slightly different if you are starting from the base camps on the Sunrise or Sunset side.
Since this part of the trail is pure volcanic sand, it is hard going (three steps up, two steps back). Picture hiking up an insanely steep beach and you’ll get a good idea of what it’s like.
This is one part of the trail where having a walking stick is a HUGE help. I’m not generally a fan of walking sticks, but having one to use as an anchor point kept me from sliding backward and losing ground in all of that loose sand.
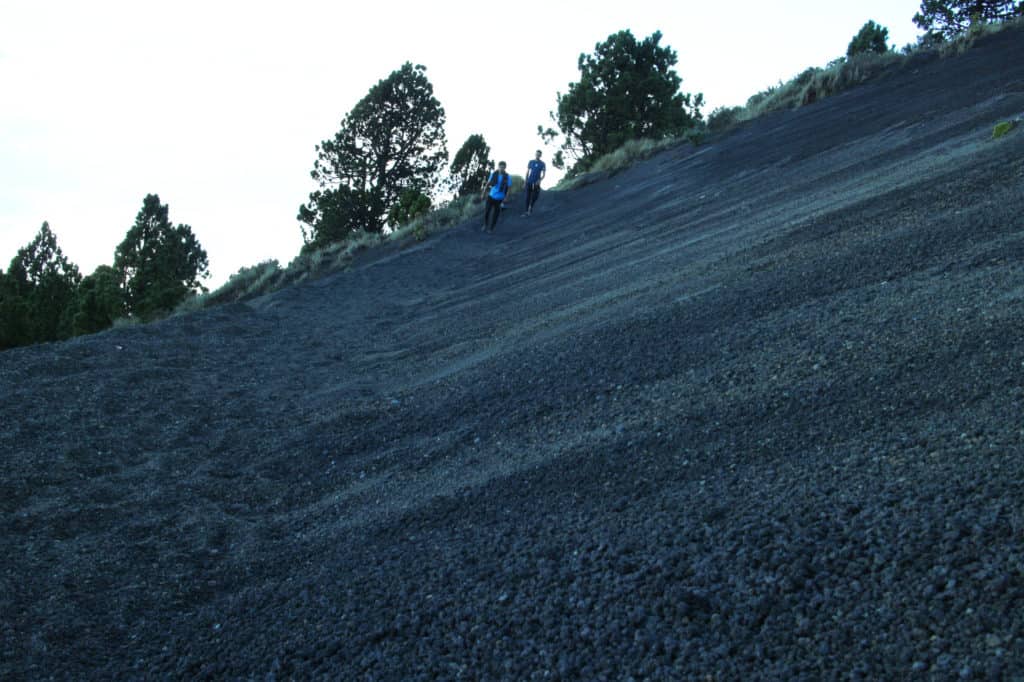
I find it easiest to go up via La Bendita and come back down via La Maldita. I’ve also found that forcefully burying the toe of my shoe into the sand with each step helps maintain traction.
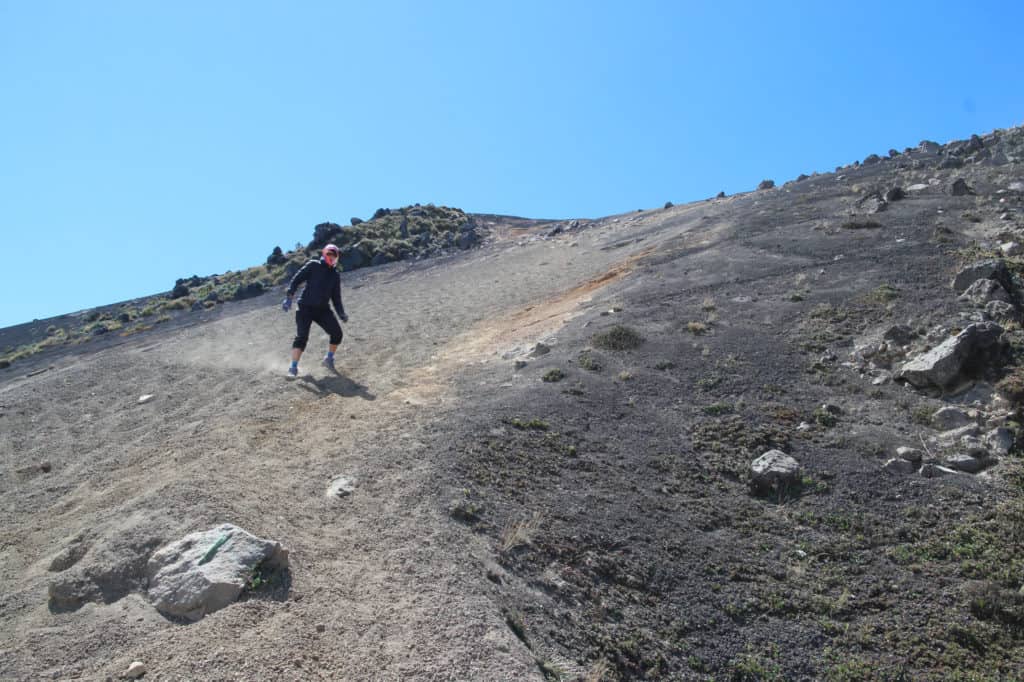
Even though this section is really hard going up, it’s the most fun section coming down. You can surf and slide on the sand with each step and really get some speed going.
Precautions for Hiking Acatenanago on your Own
It is possible to get lost on the volcano, suffer from altitude sickness, and get hypothermia. Take precautions, be as prepared as possible, pack adequate food, water, flashlights, survival gear, and warm clothing.
Don’t panic and stay with your group.
If you are a foreign tourist traveling alone and have no mountaineering or volcano experience, I recommend spending the money on a guide.
You can hire guide once you reach the town of La Soledad if you prefer not to book with a tour company. Feel free to haggle to try and get the best price. Some tourists have even asked around until they found a local guide, camped beside the guide’s house, and then left for the hike the next morning.
Paying for a guide is also a great way to support the local community and discourage crime.
What does it cost to go on the Acatenango Volcano hike?
Please note that these prices are to give you a general idea of what it costs to hike the volcano without a tour company, and may not be completely up to date, especially the porter and horse costs.
Entrance fee:
- Q50 for Foreigners
- Q25 for Guatemalans and permanent residents
- Q10 for Guatemalan Students
Guide
- Q200-350 for a day trip
- Q400-450 for an overnight camping trip
- Optional: a tip for your guide
Alotenango Campground
- Q35 per person
Horse Rental
- Q200-600 per person
- Q200 per backpack
Porter
- Q250+ per backpack (depending on the weight of the pack)
Walking Stick
- Q10 Rental
Guided Tour with a Tour Company
- Prices range from $40 to $229 depending on the tour company and what is included.
What to Pack for a Day Hike to Acatenango
If you’re hiking Acatenango on your own, you’ll need to take everything you need with you (or find somewhere to rent it from).
Here’s a list of what I take when I climb Acatanango.
What I wear:
- A wicking T-shirt, hiking pants, wicking socks, trail-running/hiking shoes
This is what I take on a day hike:
- 3 liters or more of hydrating fluids such as water, rehydration drinks, and altitude tea
- Nutritious food and snacks, a generous amount for one day
- 1-2 warm layers (To my base layer I add a wicking long-sleeve shirt and fleece, followed by my rain jacket)
- Tuc/Beanie, gloves
- Rain Jacket/Windbreaker
- Extra pair of socks
- Camera and extra batteries
- Sunglasses, hat, and sunscreen
- Small first aid kit (pain killers, basic wound care, duct tape for blisters)
- Chapstick
- Money, ID, phone
- Headlight/Flashlight (yes, even if you aren’t planning to be out after dark!)
- Toilet paper and hand gel
- Matches, knife
- A plastic bag to carry out my trash
What to Pack for an Overnight Camping Hike to Acatenango

This list assumes you are hiking Acatenango on your own and aren’t relying on gear from a tour company (such as tents or A-frame structures pre-set up at base camp).
Note: Thanks to the time I spent living in B.C. Canada, I’m conditioned to expect rain, so I pack everything into plastic bags and zip-locks just in case.
What I wear:
- A wicking T-shirt, hiking pants, wicking socks, trail-running/hiking shoes, handkerchief
This is what I take in my pack for an overnight to Acatenango Volcano:
- 7 liters or more of hydrating fluids such as water, rehydration drinks, and altitude tea
- Nutritious food and snacks, a generous amount for two days
- 2-3 warm wicking layers (To my base layer I add a wicking long-sleeve shirt and fleece, followed by my rain jacket)
- sweat pants/yoga pants and a warm shirt for resting and sleeping in
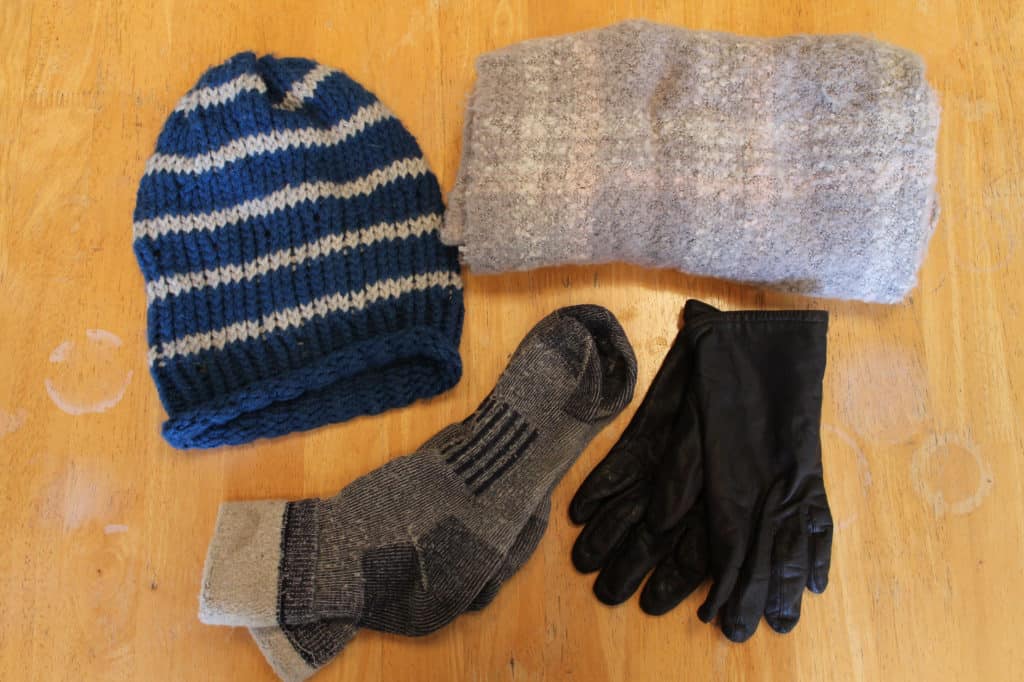
- Tuc/Beanie, gloves, and a scarf
- Rain Jacket/Windbreaker
- 2 extra pairs of socks and underwear (I like to take 1 pair of warm wool socks)
- Camera and extra batteries
- Sunglasses, hat, sunscreen
- Small first aid kit (pain killers, basic wound care supplies, duct tape for blisters)
- Chapstick, toothbrush, toothpaste, wet-wipes (a great way to feel clean-ish for sleeping!)
- Money, ID, phone, cell phone power bank if you have one
- Headlight/Flashlight
- 1 extra pair of shoes/flip flops for wearing around the campsite (can do without)
- earplugs and sleeping mask
- Tent with a ground tarp, rainfly, taut lines
- Sleeping Bag
- Sleeping Mat
- HotHands Body Warmers (great if you can get them, 1 of these helped keep me warm all night long)
- Toilet paper and hand gel
- Matches, small tactical knife
- A plastic bag to carry out my trash
- Tennis ball for massaging muscles and releasing trigger points
What food should I take on the Acatenango Volcano hike?
In general, you should take food that you enjoy and is nutritious and filling.
Here are some ideas if you need them:
Breakfast Ideas
- Granola
- Fruit (such as apples, oranges, bananas)
- Breakfast sandwich or wrap (eggs, bacon, spinach, cheese)
- Granola Bars
- Roasted root veggies
- Oatmeal
Lunch Ideas for Hiking Acatenango on Your Own
- Sandwiches
- Wraps
- Canned Tuna on romaine lettuce
- Black beans on flour tortillas
- Chicken and veggie bowl
- Fried chicken in a bun
Supper Ideas
- Soup (Ramen cups or canned soup)
- Pasta with tomato sauce
- Tortillas with melted cheese
- Hot dogs or sausages
Snack Ideas
- Nuts
- Dried fruit
- Fresh fruit
- Chocolate
- Chips (potato, corn, plantain)
- Roasted sweet potatoes
- Cooked spinach or swiss chard
- Carrot sticks or other veggies
Conclusion: Hiking Acatenango on Your Own
If you like to hike at a faster pace, save money on private or group tours, or enjoy the extra challenge and sense of adventure, hiking Acatenango on your own is a viable option. Just remember to take precautions, choose your route with care, and pack everything you need. Happy trails!
Don’t miss my other posts on Acatenango including this post about how hard the hike is, hiking the volcano with your dog, and the best Acatenango tour companies (if you decide going on your own isn’t really your thing after all).

