Acatenango Hike Difficulty
If you asked me to rate the Acatenango hike difficulty, I’d say it’s difficult but doable.
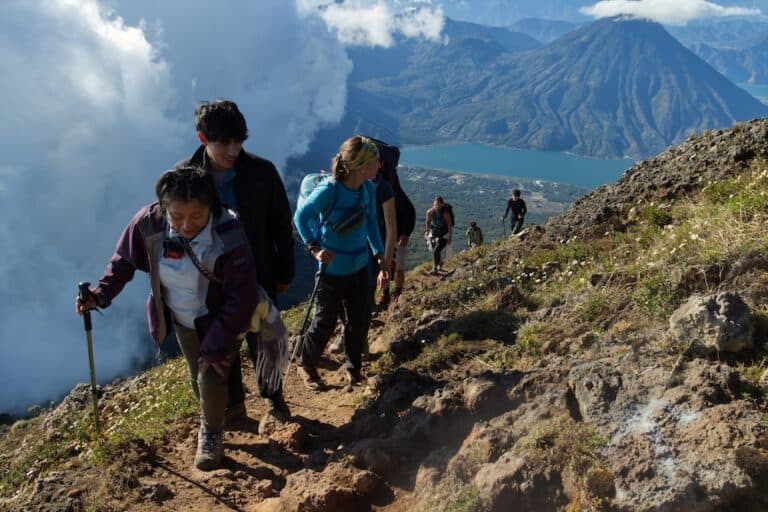
The trails up Guatemala’s third-highest volcano are steep and slippery at times but well-maintained and easy to navigate if you wear shoes with good traction.
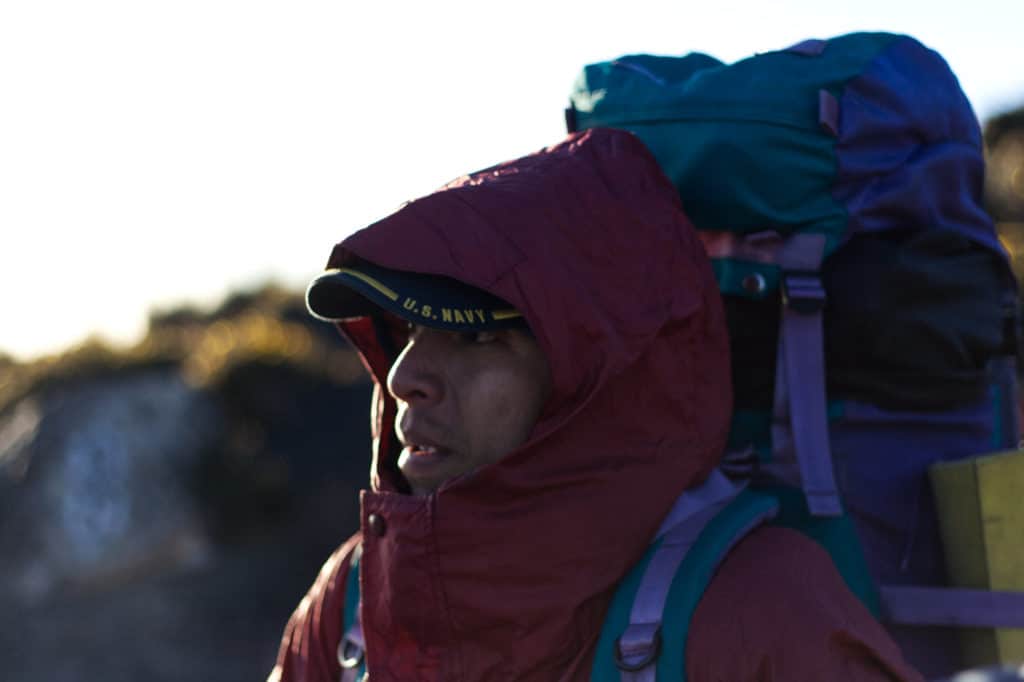
You don’t have to clamber up ledges or walk for hours on wobbling boulders. However, it is a long hike (typically 4.5-6 hours). The elevation and potential for altitude sickness make it challenging, and the more gear you carry, the more difficult the hike will be.
That said, hundreds of tourists and locals summit Acatenango every day, and most of them are not fitness gurus or super athletes.
My point? If you want to get up that mountain, you can get up that mountain.
How I know what I’m talking about
I’ve hiked Acatenango five times under widely-ranging conditions, including:
- a leisurely day hike with a small pack
- two overnights carrying over 50 pounds of gear
- an overnight with a tour company carrying about 25 pounds of gear
- a day hike pushing a mountain bike to the saddle ride and riding back down
I’ve hiked during the optimal volcano hiking season between November and February and hiked it during a tropical depression with nonstop rain for 24 hours, landslides, and insane wind gusts.
I’ve taken three different routes up Acatenango including the east side trails, west side trails, and via Yepocapa (the shorter of Acatenango’s twin summits). Learn more about each route and what to pack in this post about hiking Acatenango on your own or check out my post on the best Acatenango tour companies.
Acatenango Hike Difficulty: A Quick Overview of the Hike
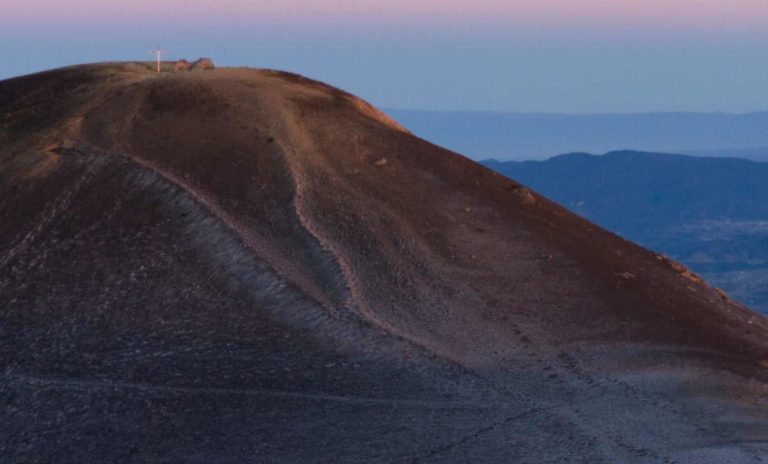
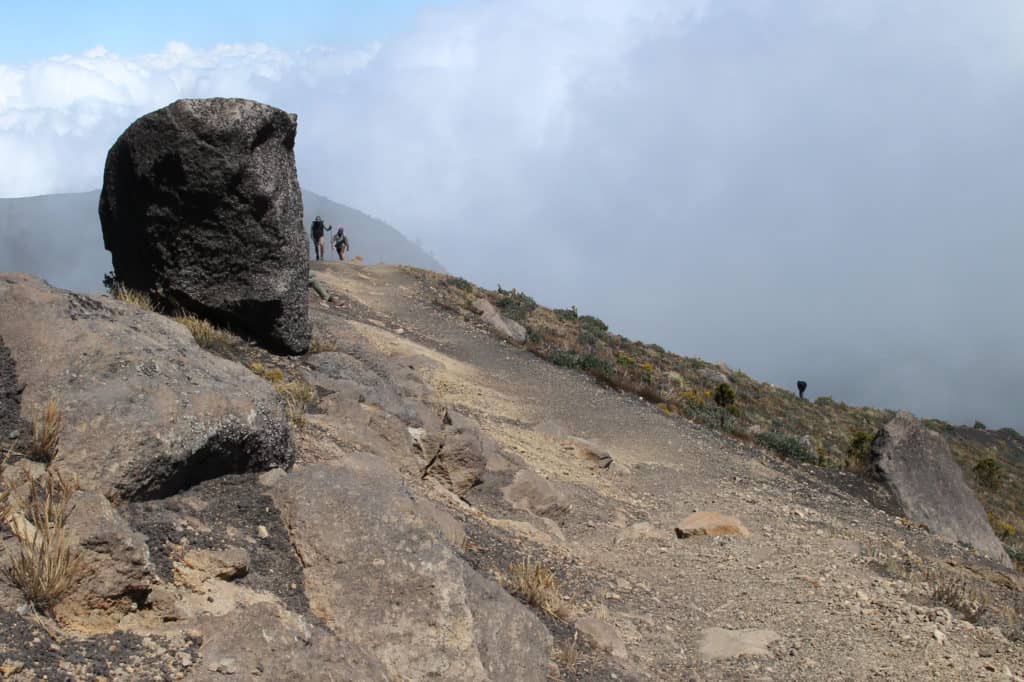
When it come to the Acatenango hike difficulty, the beginning and end of the hike are the most challenging because the terrain is steep, with loose volcanic rock.
The trail begins in the town of La Soledad and is wide and pure volcanic sand. I find it helpful to get into a breathing and walking rhythm.
After the first rest stop, the trail narrows and rises steeply between barbed wire fences, alternating between straight sections and switchbacks until you reach the official entrance and ticket booth.
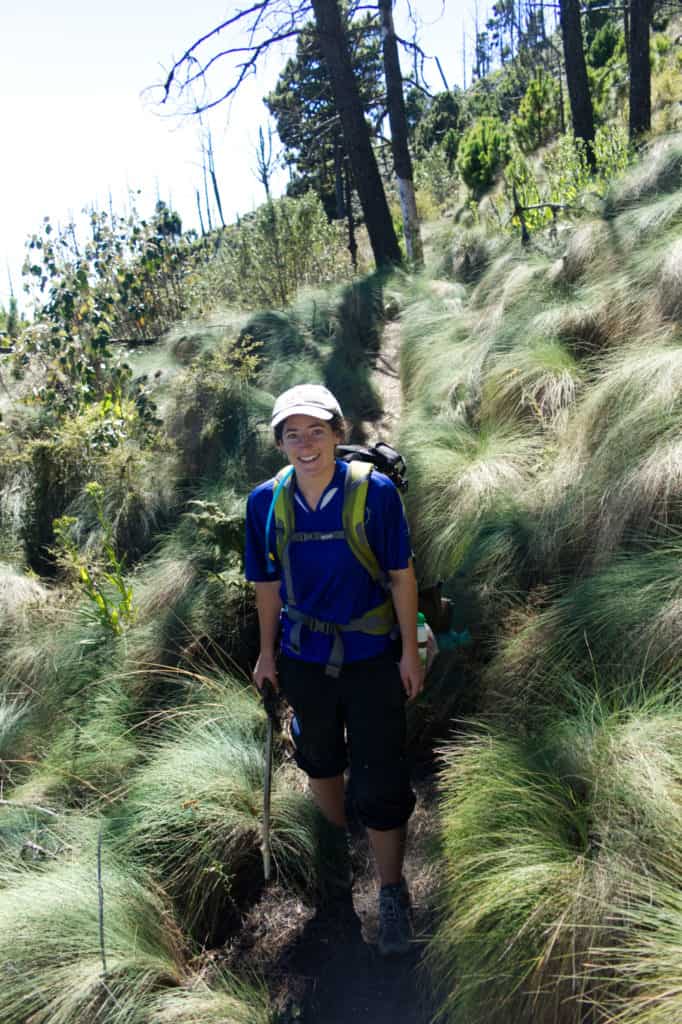
During the hike, you’ll traverse a beautiful and varied landscape ranging from humid bamboo thickets to scrubby grasslands to vertical scree-covered slopes. The trail continues to rise in looping switchbacks until you reach base camp. Depending on the tour company you choose, the base camp could be on either the east or west side.
The last stretch up to the summit is tough. It’s incredibly steep with loose sand. Again, get into a breathing and walking rhythm. It can help to count your steps and jab your toe into the sand at each step. Some people find walking poles very helpful.
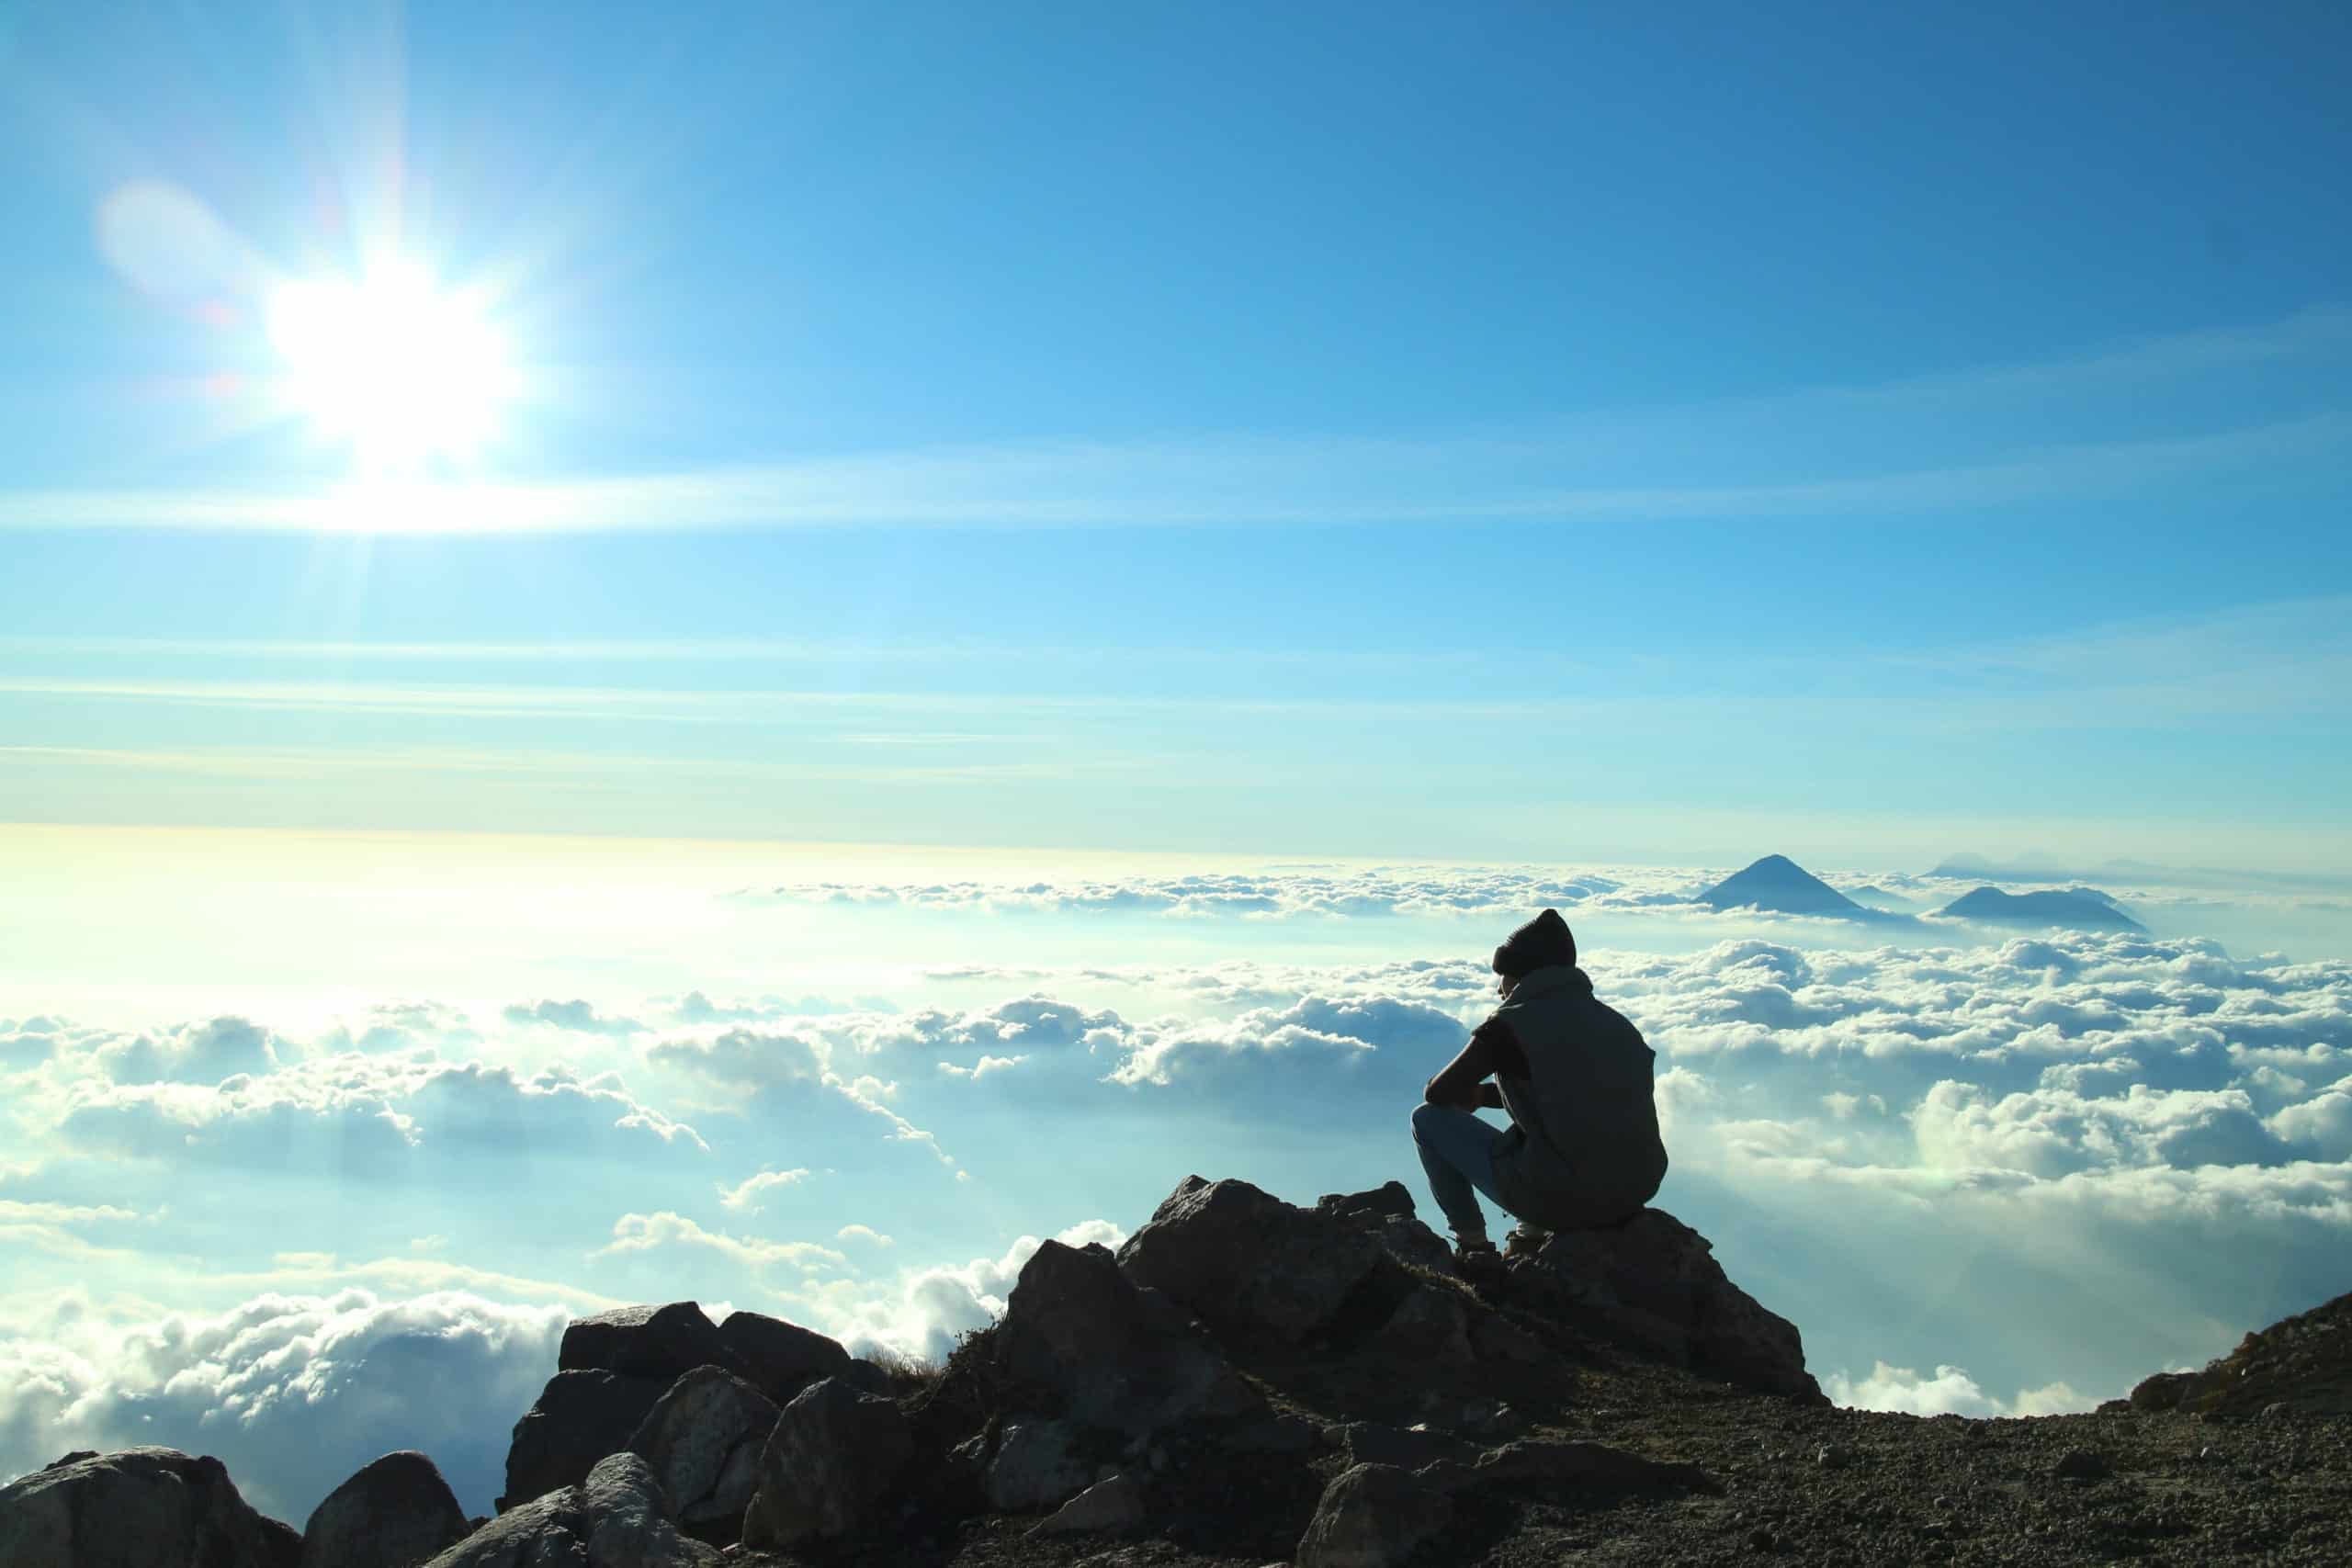
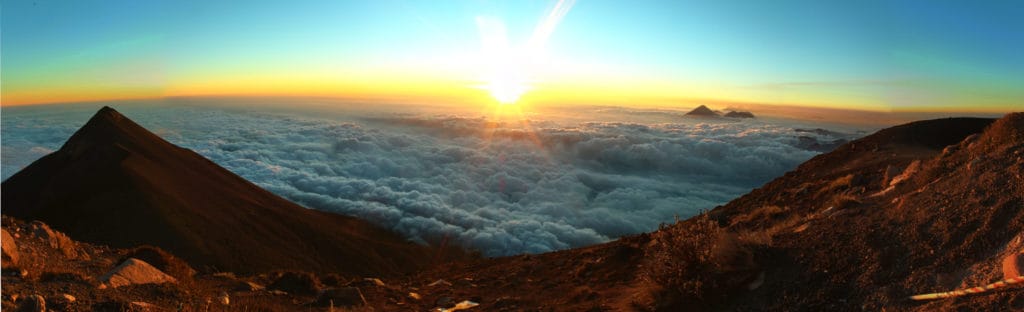
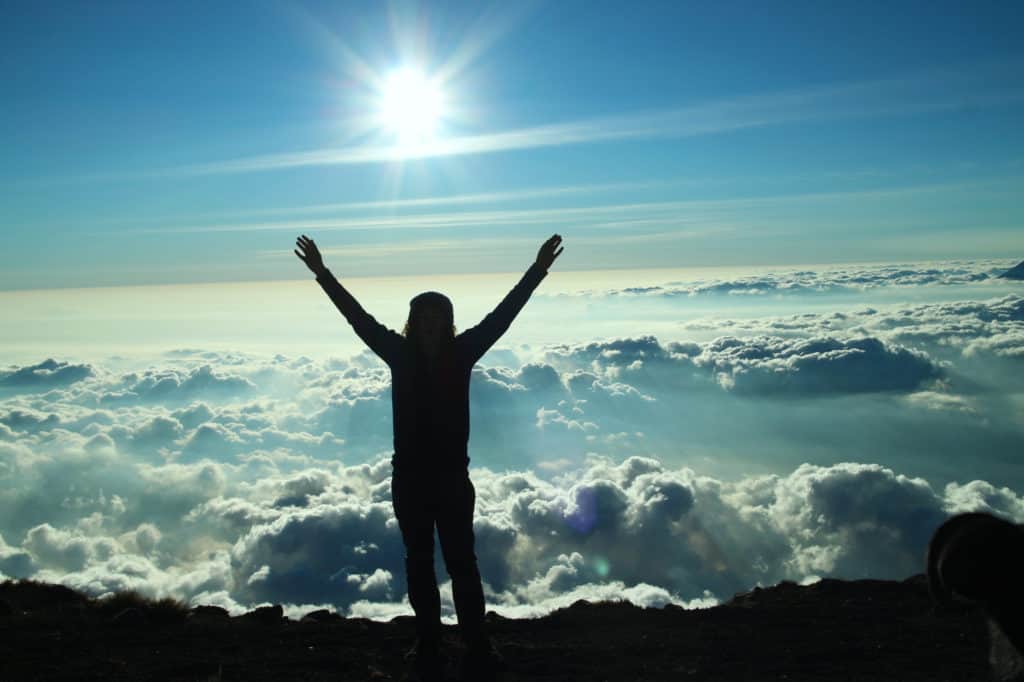
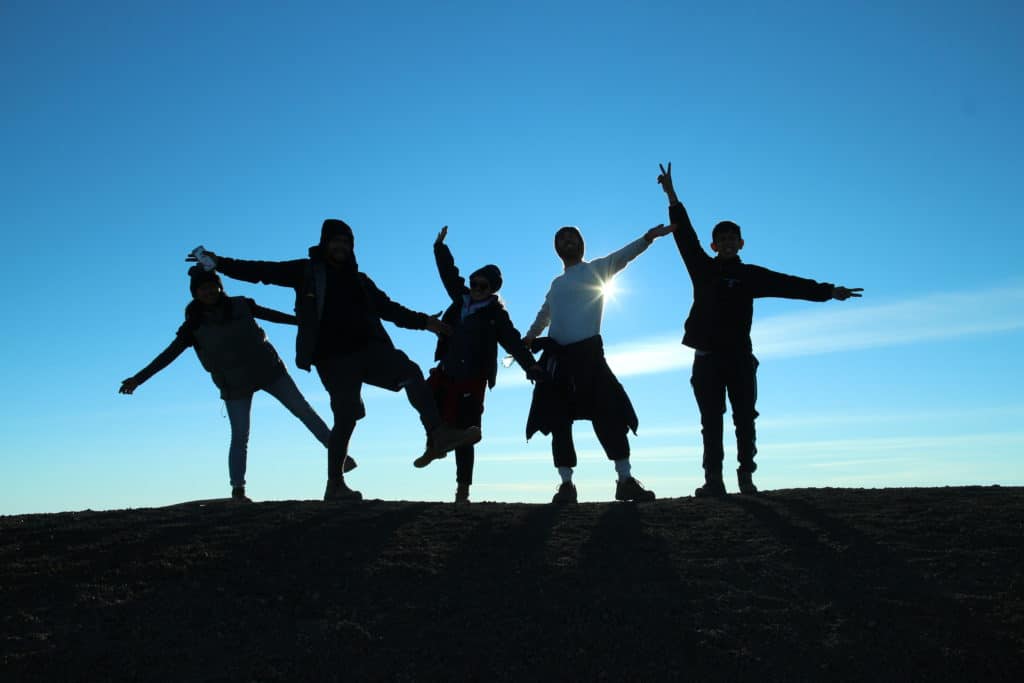
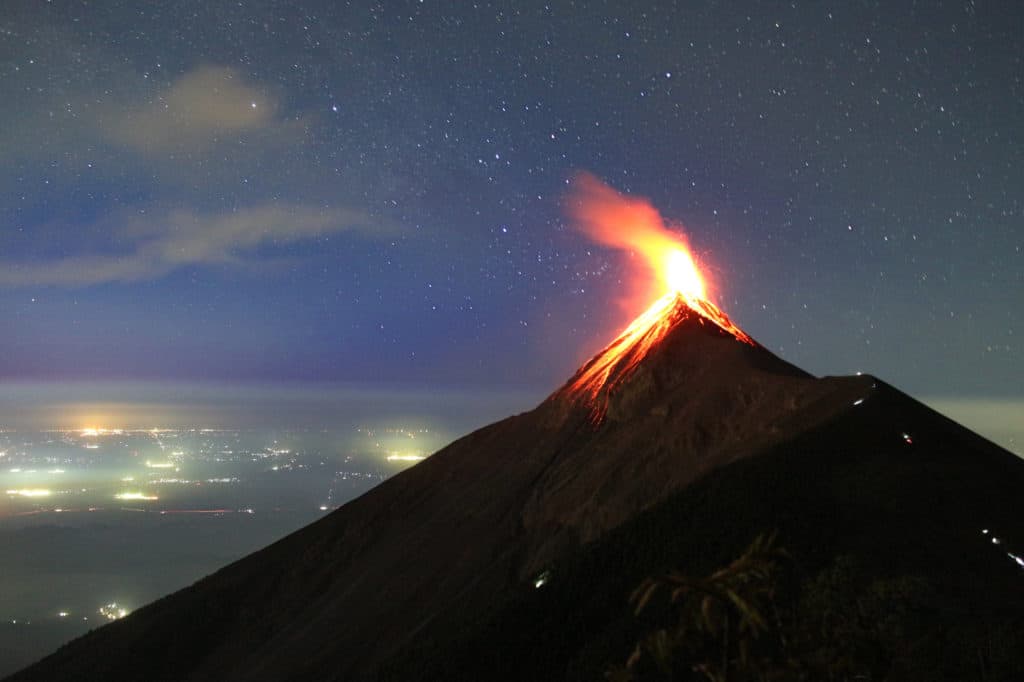
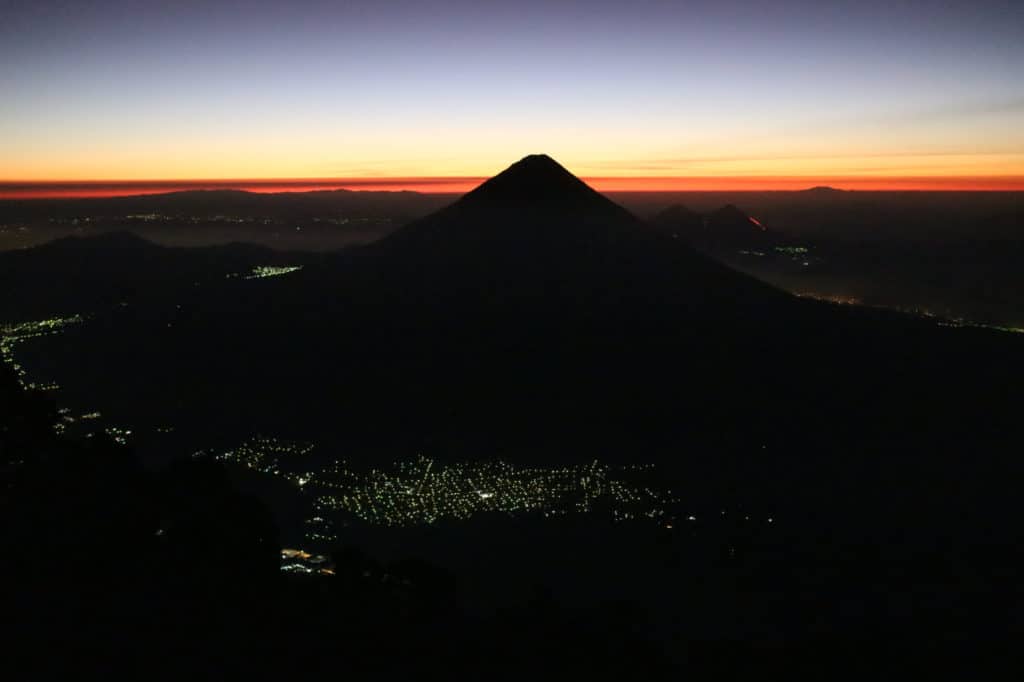
At the top, the world opens up. Volcanoes stud the horizon, clouds stream below, and the active volcano of Fuego pumps fiery ash into the atmosphere a mere 2 kilometers away.
That’s the real highlight.
And if you do a night hike or camp, you can watch Fuego’s molten lava spewing into the sky and feel the thunderous booms of its eruptions vibrating in your chest.
Is this hike for me? How hard is it?
The first time I climbed one of Guatemala’s big volcanoes, I suffered a LOT. By the time I clawed my way to the top I was nauseous and had a pounding headache from altitude sickness.
Worse, I wasn’t prepared for the cold, so I shivered, half-frozen, all night long, before hobbling back down the volcano the next day. For a week afterward I was so sore that I could barely lift my feet up a four-inch step (cue lots of good-natured teasing at work).
The moral of the story is this: how much you suffer (or not) depends on what kind of shape you’re in and how prepared you are.
Yes, Acatenango is considered a difficult hike, but with proper training and preparation, it is absolutely doable.
One of my friends suffers from asthma, but she went slowly, resting every couple of steps, and still achieved her goal of getting to the south-facing campsite. She got to watch Fuego erupting all night long and her face still lights up every time she talks about the trip.
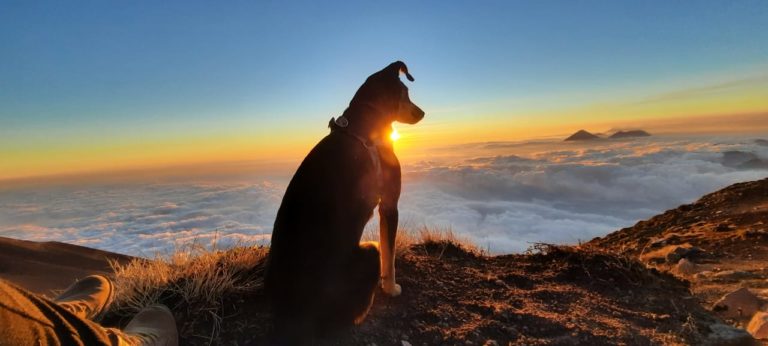
Even my dog has climbed Acatenango! Learn more about volcano hiking with a dog.
7 Tips to Make the Hike Easier
If you’re worried that the Acatenango hike is too difficult for you, consider using some or all of these tips:
Go with a tour company
Going with a tour company will reduce the Acatenango hike difficulty level by a lot.
Why? Because most tours include transportation, camping gear, guides, and meals. You won’t have to carry nearly as much gear.
Instead, you’ll only be responsible for your lunch, water, and clothes. Not having to carry camping gear and all your meals makes a huge difference in weight.
Check out this post on the best Acatenango hike tour companies.
Ride a horse
If walking is difficult, you can hire a horse to take you as far as the campsites.
Hire a porter to reduce the Acatenango hike difficulty
Since carrying gear for an overnight adds to the challenge, you can consider hiring a porter or a packhorse to take that weight off your shoulders.
Take it slow and focus on your breathing
Take it slow and breathe deeply and rhythmically. Take breaks as needed.
Hydrate!
Stay hydrated. Check out my Altitude Tea recipe packed with herbs and spices that help oxygenate the blood, improve circulation, and give you a boost on the trail.
Skip the wine & Quetzalteca
Avoid alcohol as it can cause dehydration and depress your respiratory system, potentially putting you at a higher risk for altitude sickness. Learn to recognize the symptoms of altitude sickness before your hike.
Hike during the dry season for optimal trail conditions
If you want an easier time of it, schedule your hike between November and April for the best trail conditions. Since this is the dry season, the trail should be in better condition whereas in the rainy season it can be slippery and muddy.
I hiked Acatenango during a tropical depression and the trail still had decent grip (most of it was volcanic sand).
However, we had to traverse washed-out sections of the trail, which made the hike more challenging. Constant rain and fierce wind gusts took the difficulty up a notch. But keep in mind that these were extreme weather conditions not necessarily typical of regular rainy season weather.
Drive up the access road
If you’re going to Acatenango on your own, a neighboring Finca has an access road for 4×4 vehicles that will get you within two or three hours of the peak on the east side.
Why hike Acatenango Volcano?
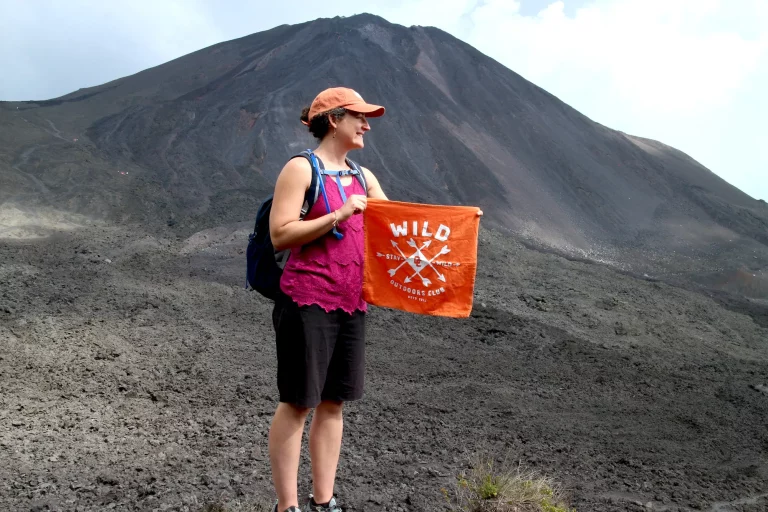
Acatenango is a stratovolcano whose moon-like crater rises to 13,045 feet above sea level, making it the third-highest peak in Central America.
Getting to the top is a physical and mental challenge worth tackling, especially if you like to push yourself to the limits of endurance, experience nature in its raw glory, and climb higher than the clouds.
Breathtaking Stars, Views, & Molten Lava
I’ve hiked Acatenango five times and the experience doesn’t get old. Each trip has been unique and exhilarating.
Nothing compares to seeing billions upon billions of stars from Acatenango’s frozen peak, slaloming down ashy grades on my mountain bike, or watching the neighboring volcano of Fuego paint the evening sky with molten lava.
Summiting Acatenango Volcano is a bucket-list-worthy adventure.
Accessible
As an added plus, since Acatenango is one of Guatemala’s top attractions, it is easy to find tours, guides, and transportation options according to your budget and preferences.
For this same reason, crime isn’t a high concern on Acatenango.
Tip: If you’re looking for an easier hike, consider going on one of these tours to Pacaya Volcano, or climbing San Pedro Volcano on the shores of Lake Atitlán.
How long does it take to hike Acatenango Volcano?
I know of people who have run up Acatenango in 45 minutes, but for most of us non-super-athletes, it will take five to nine hours. Once again, the Acatenango hike difficulty level depends on your physical condition and the condition of the people in your group.
The first time I went on an overnight hike, it took me seven hours to haul my gear to the top. Others in my group took nine hours.
Discover how to hike Acatenango on your own, or head to my curated list of Acatenango tour companies.
On a subsequent day-hike, it took my group five hours up, going at a leisurely pace. Since a couple of my friends had knee problems, we came down at the same rate (a five-hour descent). Usually, however, the descent is a lot faster, especially since you won’t need as many rest stops. Three hours down is a good average.
During an overnight hike with Soy Tours in June 2024, the hike up took us about 6 hours to get to base camp, with many stops. The actual walking time was probably closer to four hours.
Acatenango Day Hike versus Acatenango Overnight
One of the things to keep in mind when thinking about the Acatenango hike difficulty, is whether to go on a day hike or an overnight hike.
Which to choose really depends on how much time you have, your physical condition, whether or not you like camping, and whether or not this is your one chance to do it.
Climbing Acatenango Volcano is a great experience no matter what, but if you’re having trouble deciding between a day (or night) hike or an overnight camping hike, keep the following things in mind.
Day/Night Hike to Acatenango
Pros
- You don’t have to carry nearly as much gear, so the hike is a LOT easier
- Faster ascent & descent
- Faster recovery time (less gear = not so sore)
- It requires less preparation
- You don’t have to camp (which could mean a sleepless and miserable night)
- The peak is much much warmer during daylight hours
- Altitude sickness may not affect you as much because you’ll be following the maxim “climb high, sleep low”
Cons
- You won’t get to see the sunrise and/or the sunset (if either)
- If you go on a day hike, you won’t get to see Fuego’s impressive night eruptions
- You’ll miss the experience of camping (which could be fun)
- Unless you go on a night hike, you won’t see the stars, which are amazing!
- If visibility at the summit is poor, there’s less chance it’ll clear up while you’re there
- You’ll have to hike up and down in one day, which may not matter because it isn’t as strenuous with a day pack, but might mean you have to ascend or descend in the dark, especially if it takes longer than you expect (hiking in the dark is more challenging and means you don’t get to see as much scenery)
Overnight Hike to Acatenango
Pros
- You’ll experience the whole enchilada:
- sunset
- sunrise
- stars
- Fuego’s eruptions
- campfire
- sleeping on a volcano
- You’ll have more time to rest
- You’ll have more time to watch Fuego erupting and soak in the views
- You don’t have to hike up and down in one day, which will give your muscles a break
Cons
- If you choose to watch the sunrise from the summit, you’ll have to get up very early
- It requires more training and more preparation
- You’ll have to carry more gear. A two-day supply of water is pretty heavy
- Slower ascent and descent
- Slower recovery time, possibly (more gear = more sore)
- Since our breathing slows during sleep, symptoms of altitude sickness can get worse during rest. You may experience sleep apnea (pauses in breathing that wake you up regularly).
Acatenango Hike Difficulty Conclusion
Although Acatenango is a challenging hike, it is doable for anyone with a moderate fitness level and the mental strength to push through discomfort.
If you’re concerned about the hike, you can hire a horse to carry yourself or your bag or get a porter to take your backpack. Prepare for the hike by doing physical training, focus on keeping your breathing deep and rhythmic, and take breaks as often as you need them.
Nothing compares to the view from the top. All the pain will be worth the gain! Once you summit, feel free to drop me a line through the contact page to tell me if you agree with my Acatenango hike difficulty rating.
Don’t miss my other volcano-related posts, including how to hike Acatenango on your own, volcano hiking with a dog, my curated list of the best Acatenango tour companies, Pacaya volcano tours, and hiking San Pedro Volcano in Lake Atitlán.